


The intelligent Edge is a concept Microsoft has been talking about for a while and with Microsoft Dynamics 365 Business Central. It provides us with a way to move our on-premises data up into the cloud and make use of some of the cool Insights features we get in the SaaS environment. It can also be used as a means to transition your data to the cloud when you’re ready to do so.
Back in October/November 2018, we tried using the intelligent edge as a means of moving an on-premise Dynamics 365 Business Central customer up to the SaaS version. This was a really painful experience, and in the end, the whole process took nearly 3 months before this was up and running.
I have recently experimented with the Spring release of Dynamics 365 Business Central (140) and can report this was a pretty seamless experience.
1. Pre-Requisites
2. Open “Assisted Setup” and choose the “Set up Intelligent Cloud”
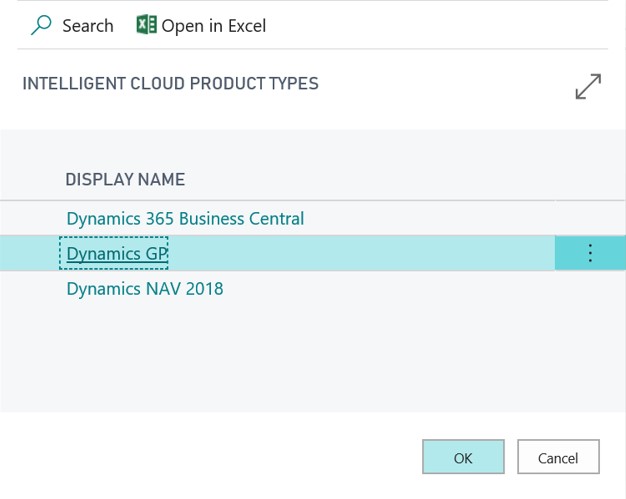
3. Choose your source type (Note: NAV 2018 is new for Spring)
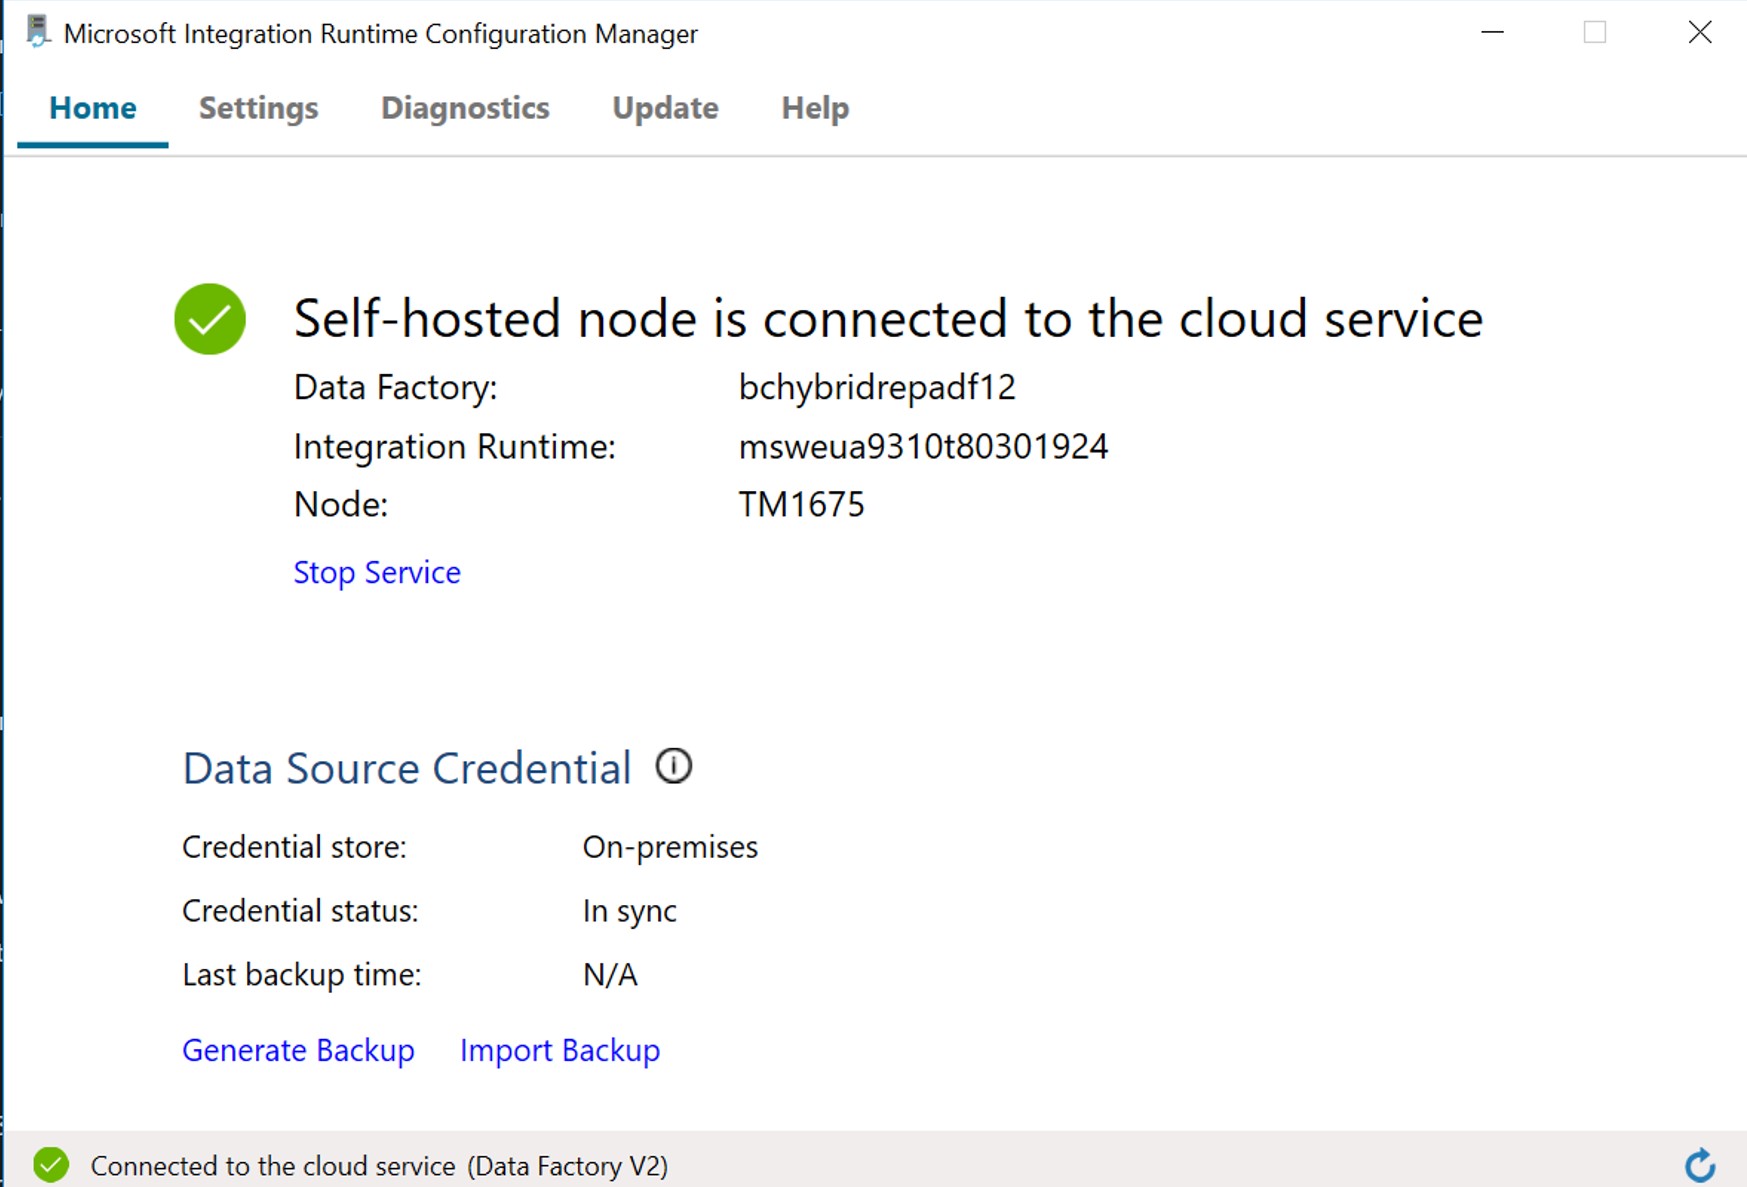
4. Install the Self-Hosted Integration Run time (SHIR). This installs a piece of software, similar to a gateway, that communicates with the Azure Data Factory. This is what pushes the data up to the cloud.
5. Enter a SQL connection string to connect to your local SQL database. This took a little discovery as it can depend on how you have your network/sql setup. I used the following;
Server=TM1675;Database=BC140;User ID=sa;Password=mysapassword;
TM1675 is my laptop name, if running on your server this will be your SQL server name.
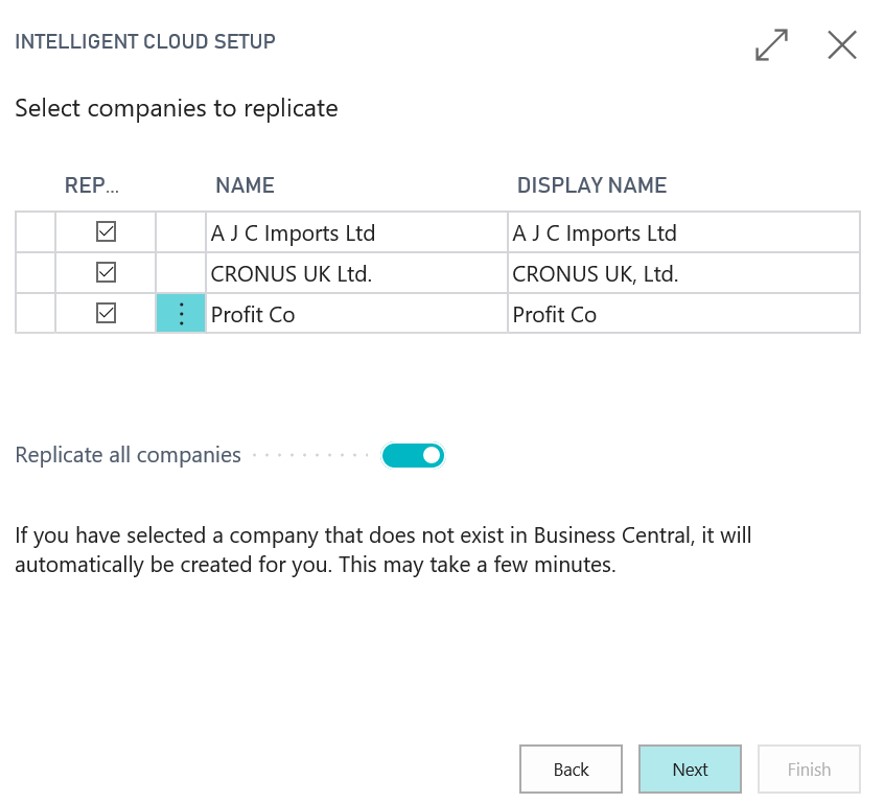
6. Choose your companies to sync
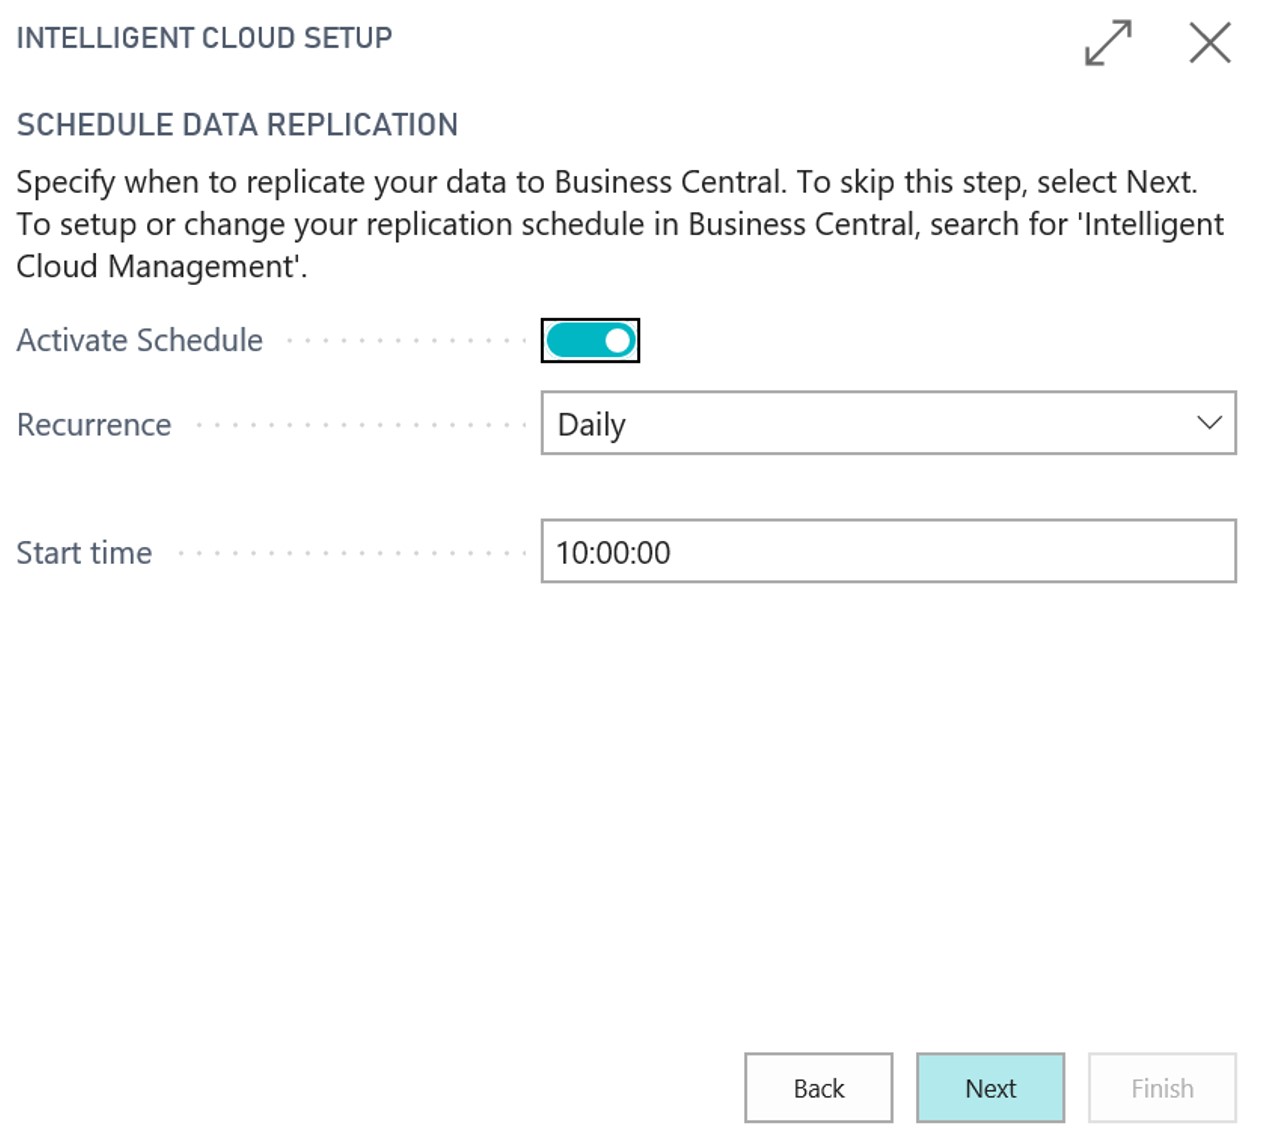
7. Set your sync schedule
8. Next and Finnish
The first Sync will create the companies but won’t replicate the data.
If you go in to Intelligent Cloud Management you will see the sync event and after a short while see it completed.

You will see that it synchronised 976 tables and had 110 errors. These 110 errors related to Apps I had already installed on my SaaS tenant, which weren’t on my local database. This is not an issue, as I don’t have any data locally to sync up. If you want it clean, make sure both have the same extensions before syncing.
One piece of good news is that there doesn’t seem to be a restriction on how often you can sync it manually. When we tried this before you had to wait 24 hours before each forced sync, I would have been 2 days before I saw anything previously.
The main purposes are to allow you to make use of the intelligent cloud – i.e. insights (see below), Power Bi etc. It’s doesn’t really make much sense to use flow as the events will be out of date.
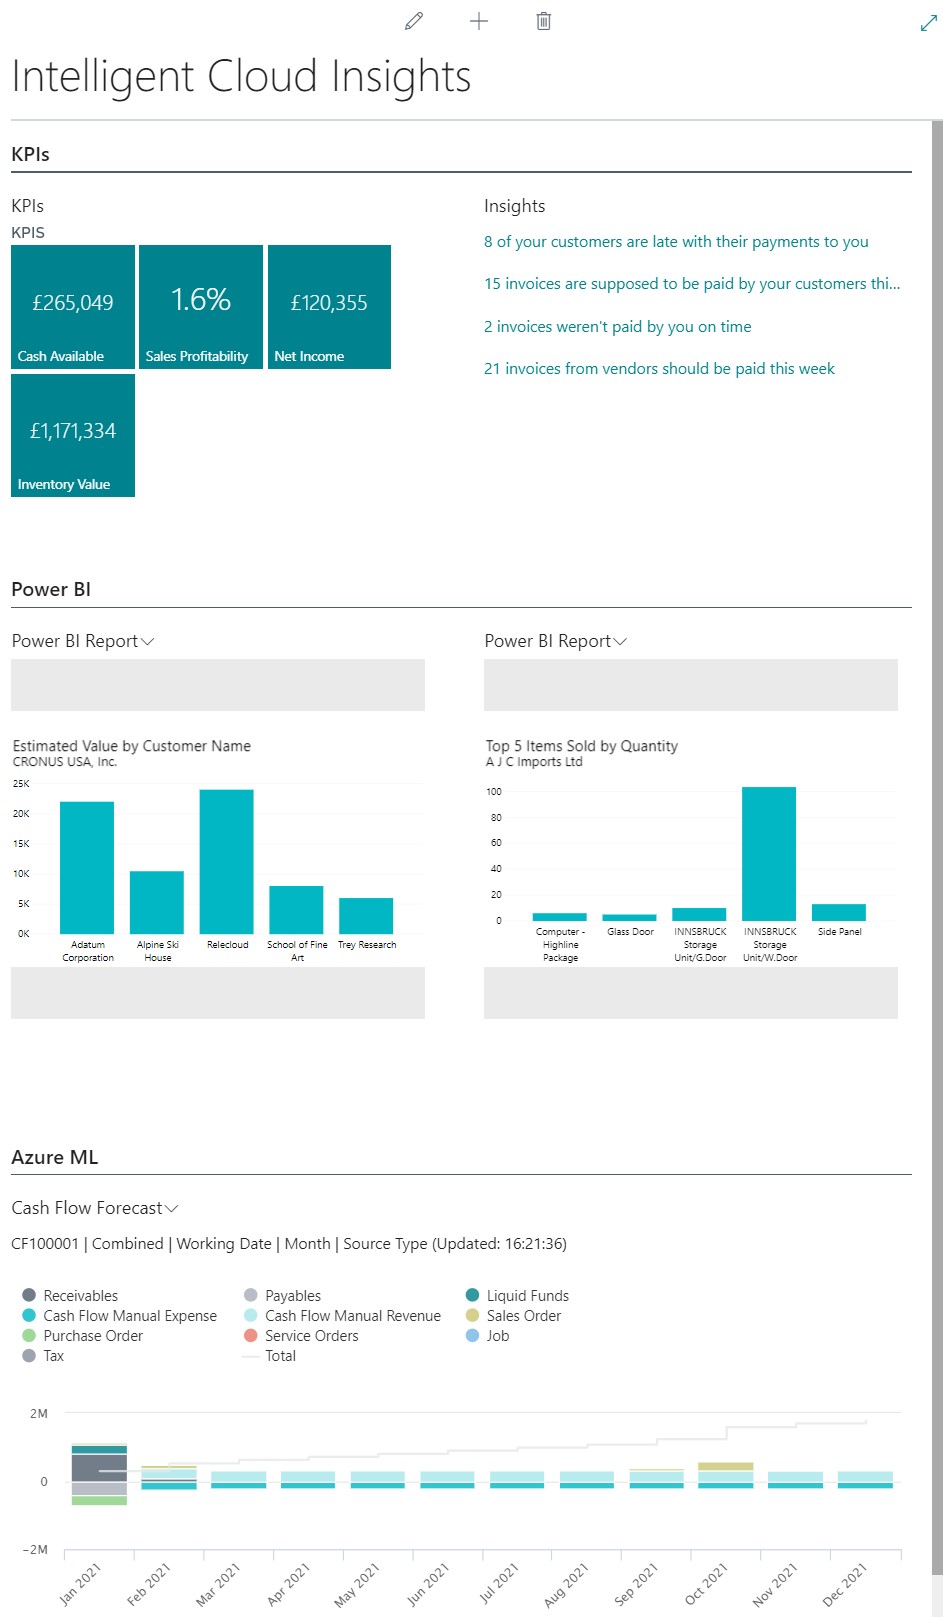
A cool feature of the Insights shows outstanding balances from your customers and tries to predict which ones will be late – based on previous history and the likelihood of someone paying on time!
Historically trying to set up some of these features for on-prem was really complex and I do believe this is the simplest way to get some great benefits before moving to the cloud.
What to learn more? Visit here: www.tecman.co.uk.