


Let’s list a few pretty unpleasant things:
Not nice experiences, but you’d survive them. Another one to add to that list would be dealing with the mail merge function in Dynamics CRM from a few years ago. Back then, when doing workshops, if I ever heard someone say “Can we get that data directly into a Word document?” it would send a chill down my spine. It involved installing plug ins on Word, a horribly complicated interface and patchy results at best. Recently, someone asked about this and I had the same cold sweat that I usually had but then thought it might be an idea to see if anything’s changed in the years since I’d last looked. Thankfully, it had.
We now have Word templates which are so much better. In fact, you can learn how to use them in a few simple steps.
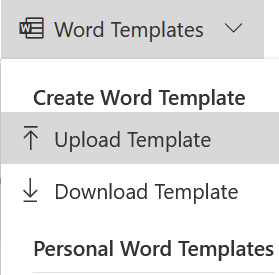
Go into a record of the entity type that you want to run the template against and you should see, on the command bar, a link like the one below:
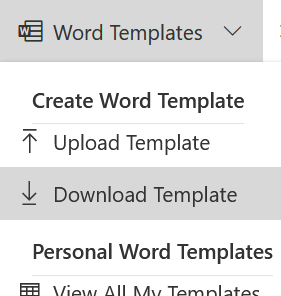
Click on the down arrow and select Download Template:
A dialogue box should pop up asking you to select the entity which will default to the one you’re on but you can, if you like, select something else.
Then you get the option of adding in related entities. So, if you want to run this against Contacts but also need fields from their parent account, select Account this in the N:1 relationship. If you’re running it against Accounts and want to list the Contacts, you’d select Contacts in the 1:N relationship. You can add as many as you like, even from N:N relationships.
Once you’ve selected your related entities, click on the Download button. Save the file and you’re ready to start working on your template.
Open up the Word document that you’ve just downloaded. First, you’ll need the Developer tab to be enabled (if this doesn’t appear, the link here should help). In the Developer tab, click on ‘XML Mapping Pane’ and this should show on the right hand side of the screen. Now, you’ll need to select the correct XML map – this will depend on many things as well as the version of Dynamics that you’re using but you’re looking for an option containing ‘crm’. At the time of writing, the current syntax is ‘microsoft-crm/document-template/<your entity>/<your entity’s entity number>’. Anyway, once you’ve selected this, it will show the schema names of the fields in your entity – you may need to look these up for the fields you want to use.
So, start writing your document, you can add in whatever formatting you want as well as images, etc. When you want to include some data from Dynamics, leave the cursor in the right place in the document and then find the field you want to include in the list on the XML Mapping Pane. Right click on this field and open up ‘Insert Content Control’, In these options, select how you want the data to appear in your document but I always use ‘Plain Text’. This should add it to that point of the document so it looks like:
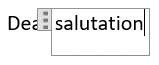
And that’s it. Keep going with you’re document adding in what you need. With this example, I added a space after ‘salutation’ and then added in another field:

So, with this, your document will being with “Dear Mr Smith”, “Dear Ms Reynolds”, etc. But that’s only half the story.
If you scroll down to the bottom of the XML Mapping Pane, you’ll see a list of the related entities that you added. This gives you access to the data held in them. Firstly, it’s important to work out what type of relationship these are. If you want to add information from a parent record, expand the relationship and add the data in just as you did in the previous step as it uses it the same way. As there’s only one parent record, there’s only one piece of data that this could be. However, it you want to show child records like the Contacts linked to an Account, there’s an additional step.
First, create a table in your document, Add as many columns as you’d like but it needs to just be two rows. The first row will be for you to enter the column titles, the second row gets repeated for all the child records.
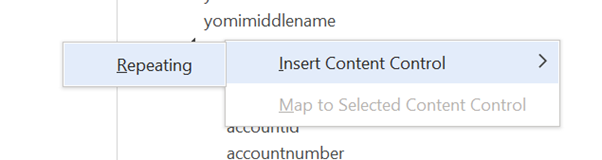
So once you’ve added your headings, highlight that second row and then go to the XML Mapping Pane. Go to the relationship you want to add and right-click it, then select ‘Insert Content Control’ but, for this type of data, you should just have the one option of ‘Repeating’:
Select ‘Repeating’ and it should update the row in the table:

If you select each of these cells in the second row and, when in there, go to the XML Mapping Pane, right-click on the field from the child entity you want to add, then insert it like you did with the fields from the previous step and that should be it. You now need to repeat this for the rest of the row and that’s your child entity added.
Save your document. Standard Word format is what you want, you don’t need to convert it to a template or anything like that.
In Dynamics, click on the Word Template drop down again but this time select Upload Template:
Browse for your template and upload it. It will then appear in the Word Template drop down for you to use. Go into a record of the entity type that it was created against, select your template and it should grab all the required data and create a Word document for you to open or save.
That’s all there is to it. But before I finish, there’s some important points to make.
If you want to further modify your template, keep hold of the file you produced in Word, You won’t be able to download your template from Dynamics to work on it again so you’ll need the original file.
When you originally downloaded the file, Dynamics wraps up all the fields and relationships that you included in that Word file. If you then change these in Dynamics, like add more fields, they won’t be included in your Word template and you’ll have to download a new one. You can do a ‘select all’ in your old template and paste this in to your new one so you’ve got your previous work as well as the updated XML Mappings for your new fields. It’s really easy to do but, as before, only if you’ve kept your original document.
If you want to tidy up the templates you’ve added, you’ll spot that you can’t do this via the interface I’ve discussed. However, it you open up an Advanced Find window and then search in ‘Personal Document Templates’, you’ll see the ones you’ve added and you can delete the ones you no longer need.
Lastly, when you get so good at writing Word templates and want to have them available to everyone in your organisation, you can upload them so they become system templates. You’ll need the correct permissions but, if you go into Settings -> Templates -> Document Templates then you can add them in here for use by everyone.